
Ammo Types
IRON NEST has a broad arsenal, but shell selection begins with the objective rather than the biggest explosion. Some rounds destroy targets; others reveal, screen, mark, or satisfy a scripted mission requirement.
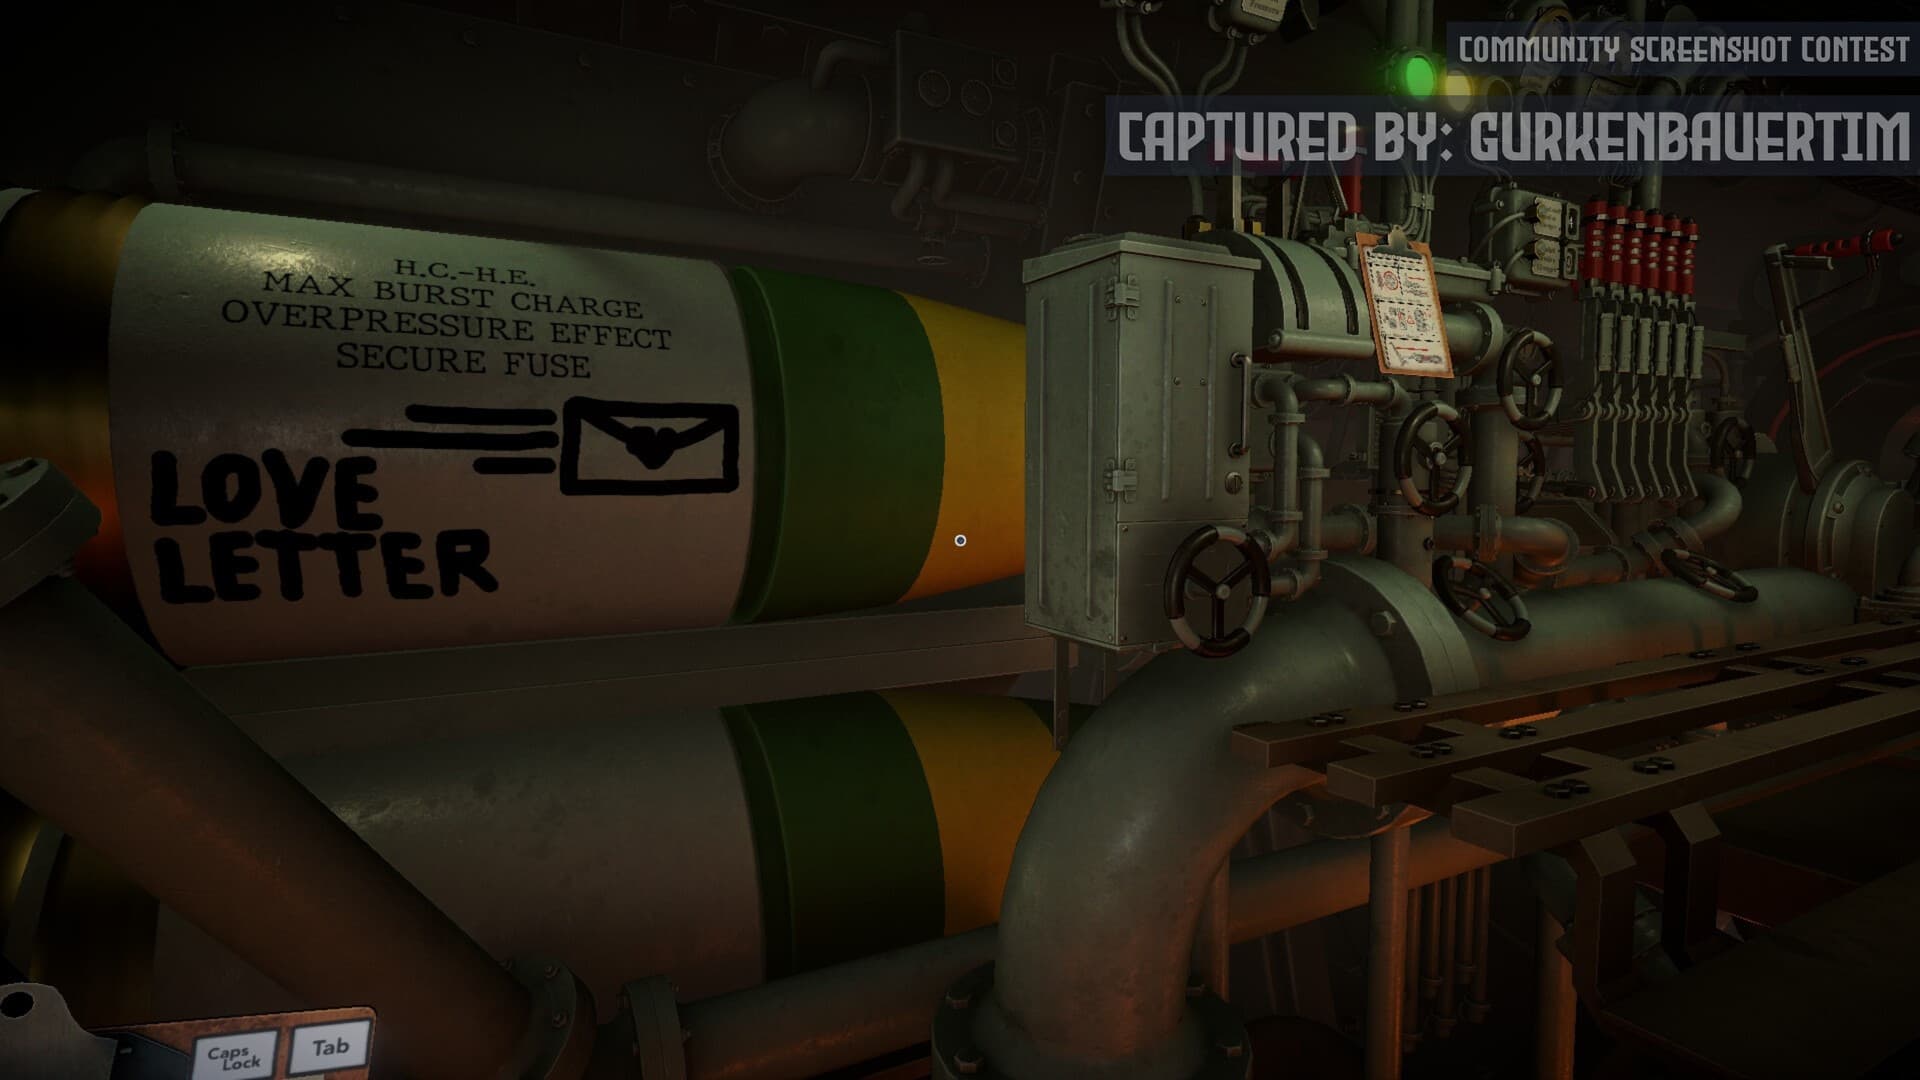
Field reference
Choose ammunition by job
| Battlefield job | Selection rule |
|---|---|
| Destroy | Match destructive shell description to target class |
| Screen | Use the required smoke or support effect |
| Observe | Use illumination or reconnaissance tools |
| Special objective | Load the exact shell named by the order |
Verify exact names, effects, and costs in the current build.
Mission-required ammunition overrides preference
If an order names Smoke, Starburst, or another specific shell, loading a destructive round may hit the coordinates but fail the objective. Copy the ammunition requirement onto the firing card before requisitioning or loading.
Choose by battlefield job
Organize the arsenal by what the shot must accomplish rather than memorizing a long list.
- Destruction: select a current-build shell whose description matches the target class.
- Screening or support: use smoke when the objective is to obscure or cover friendly forces.
- Observation: use illumination, star, scout, or recon-related tools when the problem is finding rather than destroying.
- Special objective: use the explicitly named mission shell even when another round appears more powerful.
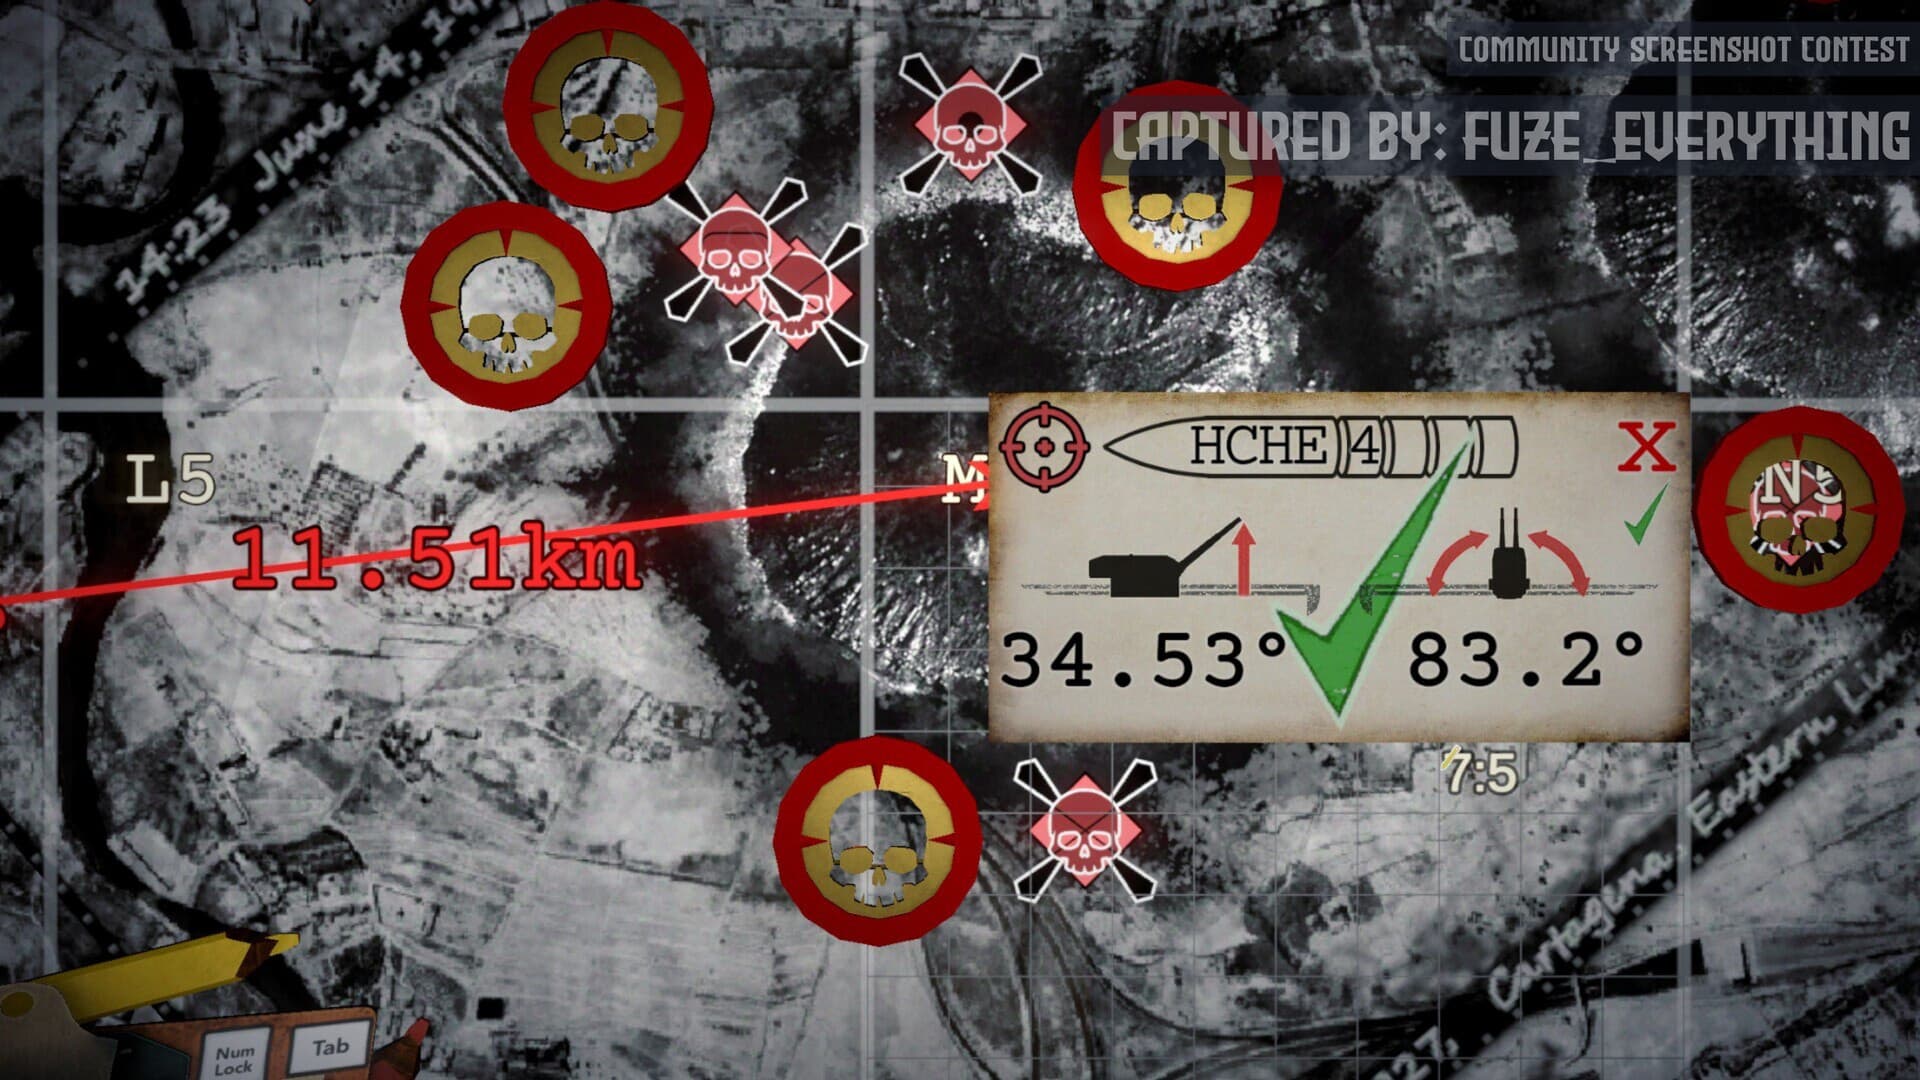
Confirm availability before solving the shot
A perfect firing solution is useless if the shell is not in storage. Check inventory and requisition cost early, especially in timed or challenge missions. When planning multiple targets, assign each barrel and firing card a shell before moving rounds through the loading system.
Do not transfer advice across versions blindly
The full release can change shell names, effects, costs, or target rules from the demo. Read the current armory description and use community claims as a lead to test, not as a universal fact. This guide deliberately avoids publishing an unverified damage table.
Operator field note
Ammunition is part of the objective
A shell can land on the correct coordinate and still be the wrong answer. Destructive, screening, illumination, reconnaissance, and mission-specific payloads solve different battlefield problems. When High Command names a shell, copy that requirement onto the firing card before the armory or calculator can distract you with other options.
A role-based reference ages better than an unsupported damage table. Check the current in-game description for effect, target suitability, availability, and requisition cost. Values copied from a demo, spreadsheet, or older patch should be treated as a lead until reproduced in the current build.
When preparing two barrels, assign the payload before moving ammunition. A visible LEFT or RIGHT label on each card prevents a correct firing solution from being paired with the other target's shell. After impact, objective feedback helps determine whether the problem was aim, target identity, or payload effect.
Sources & verification
Mechanics can change after patches. Official references and clearly labeled community findings used for this guide:
Official Steam page and arsenal description ↗Steam community guides and discussions ↗Quick clarifications
Frequently asked questions
Should I always use the most destructive shell?
No. Use the effect required by the order. Smoke, illumination, reconnaissance, and named special rounds may complete tasks that destructive ammunition cannot.
Why does this site avoid a permanent damage table?
Exact costs, damage, names, and target rules are patch-sensitive. Publishing unverified numbers would create false confidence; the current armory description remains authoritative.
When should I check ammunition availability?
Before finalizing the firing plan, especially in timed missions. A valid solution is not executable if the required shell or powder is unavailable.