
Beginner Guide
Your first accurate shot is a chain of small verified actions. Work from intelligence to map, calculator, loading station, and gun controls in that order; most misses begin with a bad input rather than the final trigger pull.
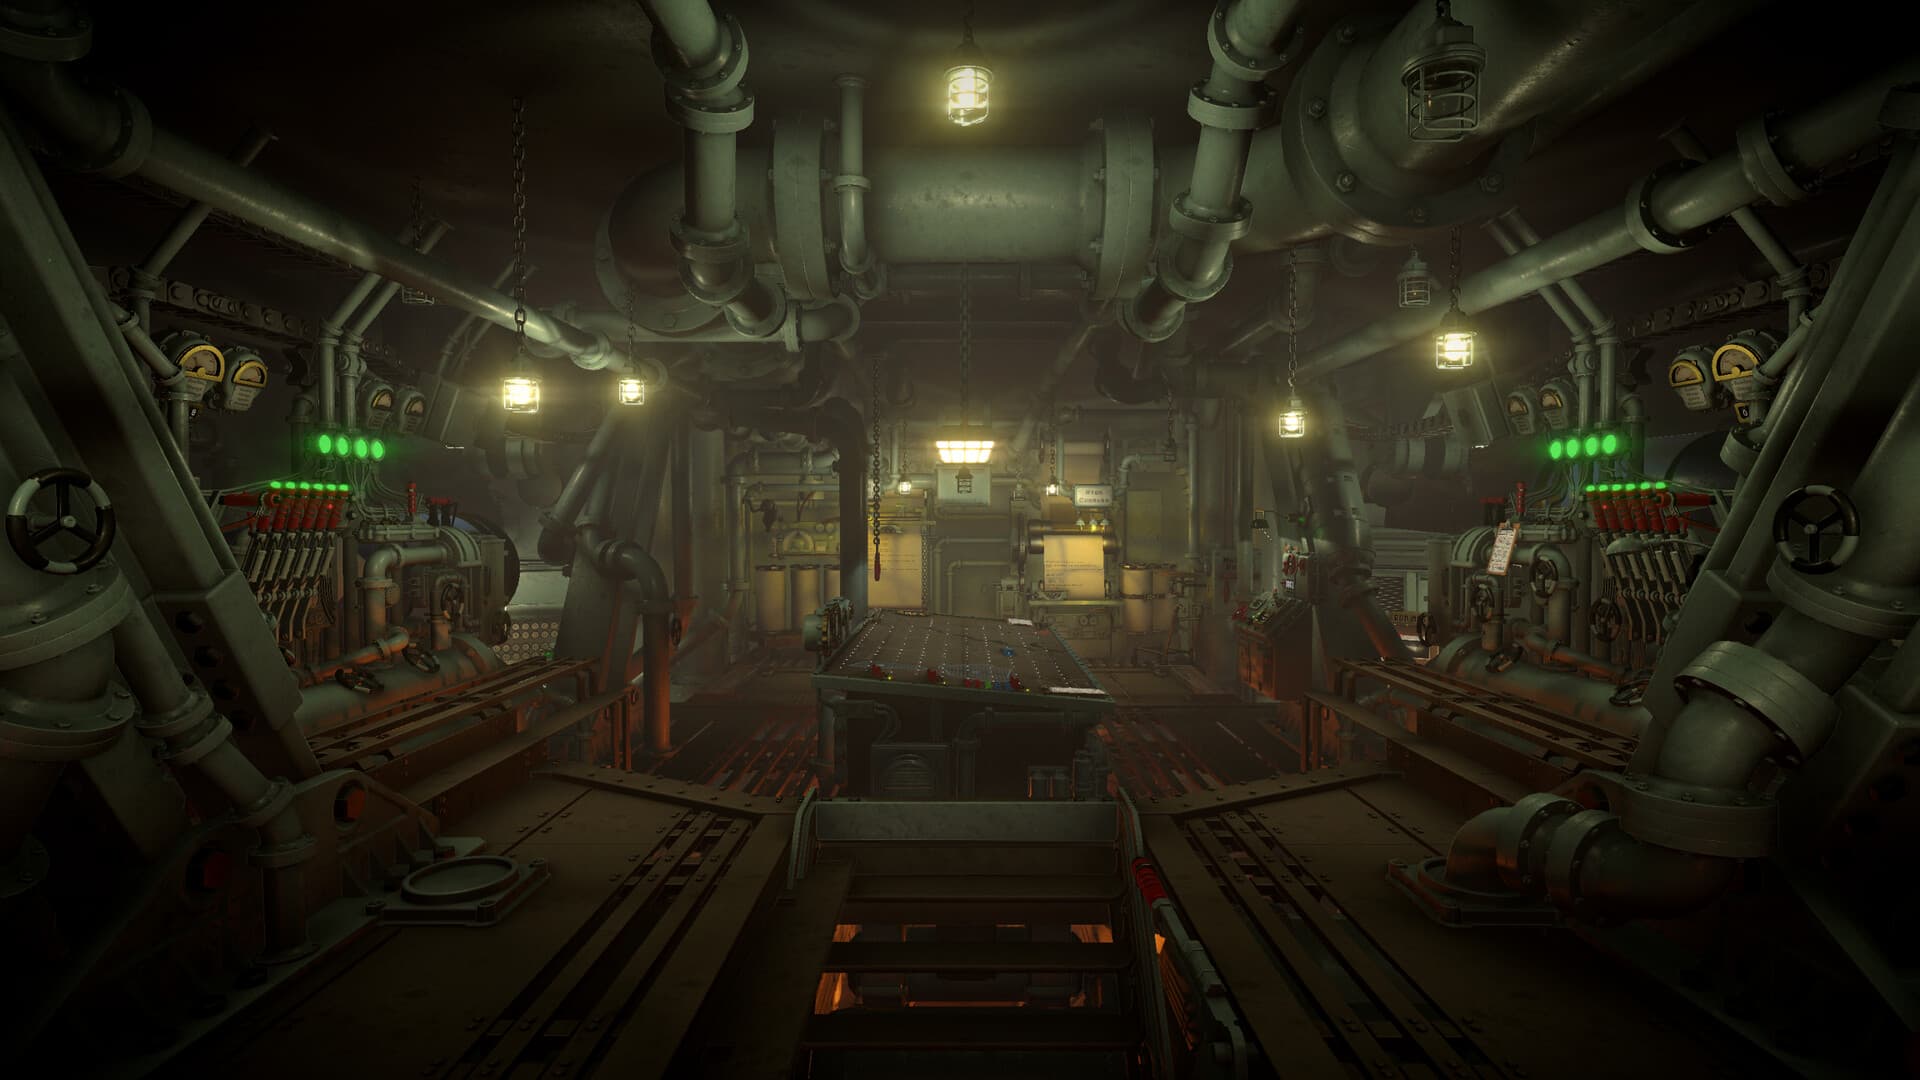
1. Read the order before touching the gun
The teleprinters and mission brief tell you what must be hit and what information is confirmed. Write down the target type, named location or coordinate, required ammunition, timing pressure, and every observer or bearing report. Do not turn an observer position into the target position by accident.
- Read every message to the end.
- Separate confirmed facts from estimates.
- Label the NEST, target, observer, and reference points differently on the tactical map.
- If the NEST has moved, update its map marker before measuring anything.
2. Plot the target and measure the shot
A firing solution is measured from the NEST's current position to the confirmed target. Use the map tools to obtain bearing and straight-line range. Repeat the measurement once; a precise calculator cannot repair a line drawn from the wrong origin.
- Confirm the NEST marker is current.
- Mark or triangulate the target.
- Measure bearing from NEST to target.
- Measure range between the same two points.
- Record both values on the firing card or clipboard.
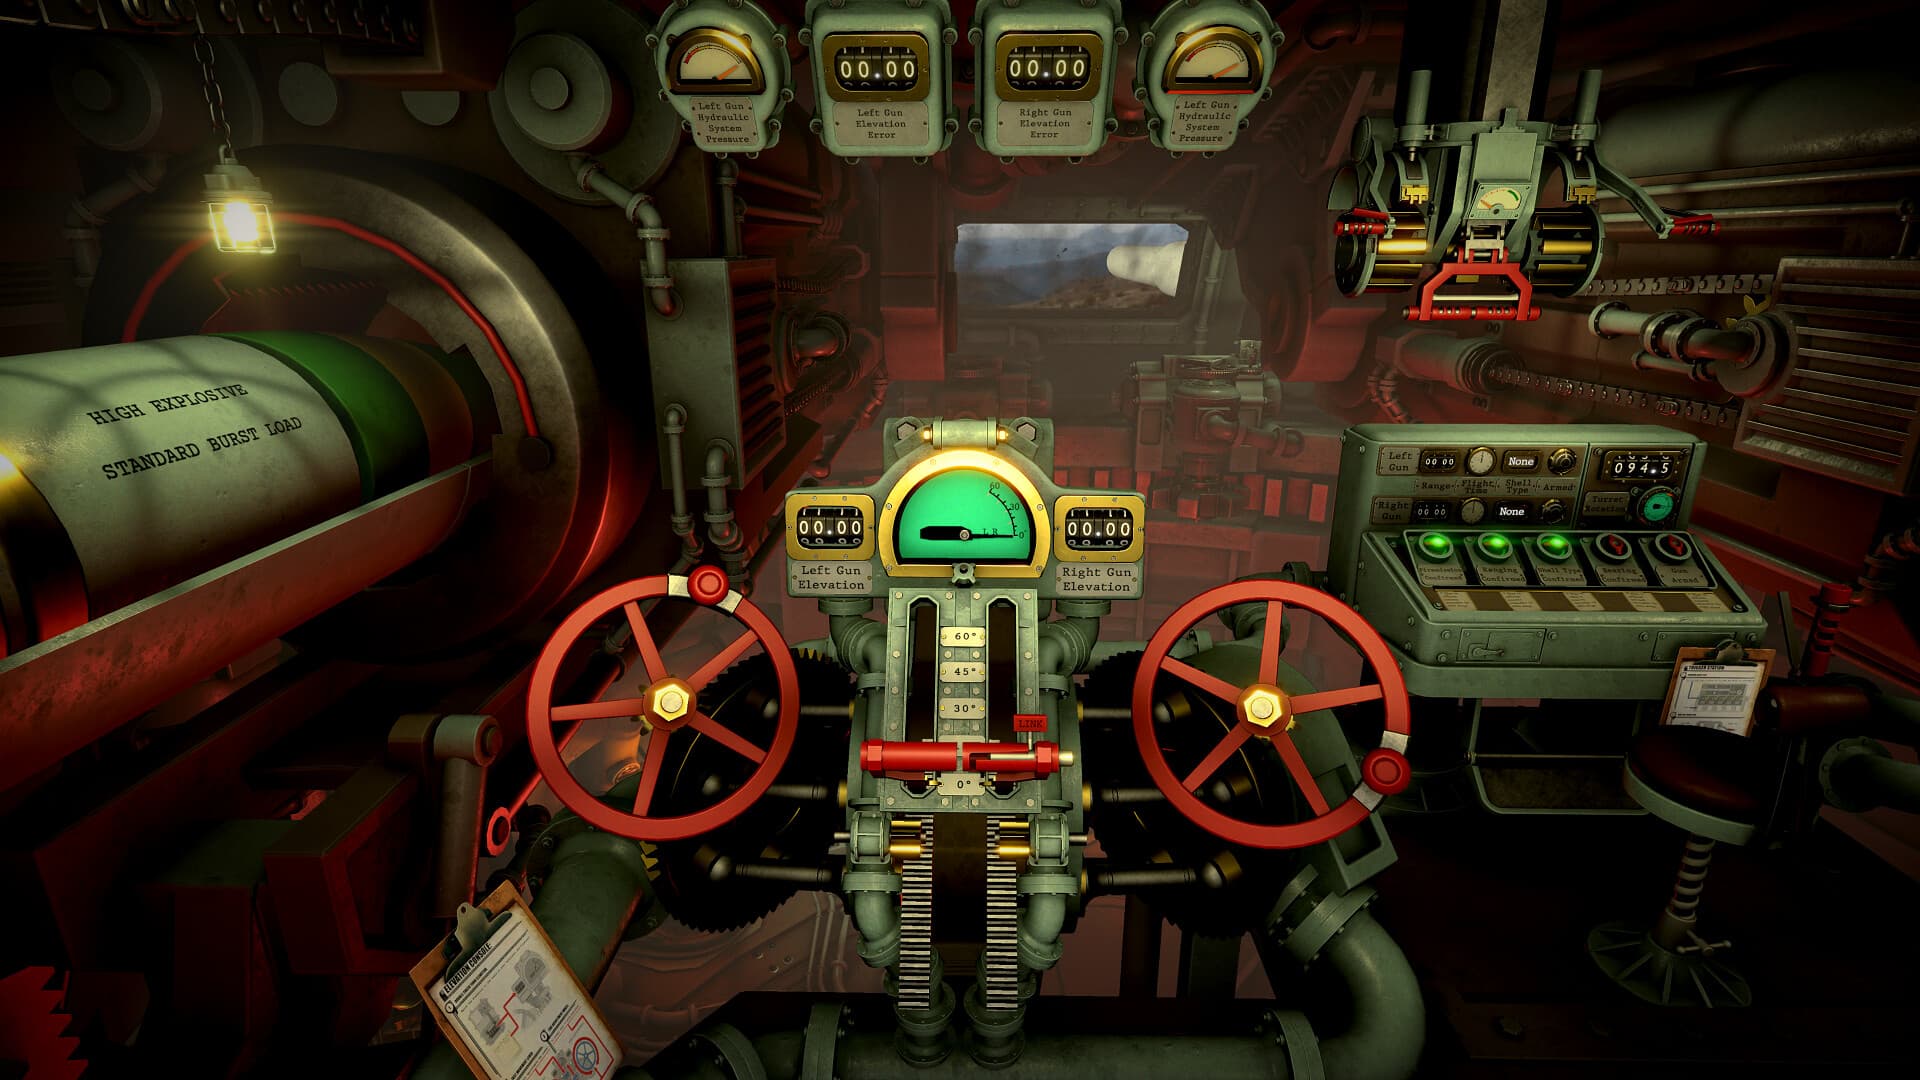
3. Convert range into elevation
At the ballistic station, pair the measured range with an available number of powder charges. The calculator gives the elevation that matches that exact combination. More charges change the required elevation and flight time; they are not a substitute for entering the correct range.
- Enter the measured range.
- Select the charge count you can actually load.
- Read and record the resulting elevation.
- If you change charges, recalculate elevation before returning to the guns.
4. Load and lay the guns
Choose the shell required by the target or mission, move it through the loading system, and load the exact charge count used by the calculator. Set turret bearing and gun elevation to the recorded solution. When preparing both barrels, keep a separate firing card for each target so values are not mixed.
- Load the correct shell.
- Load the calculated number of powder charges.
- Set turret traverse to the measured bearing.
- Set the selected gun to the calculated elevation.
- Arm the firing sequence only after the read-back is complete.
5. Use a six-point pre-fire check
Immediately before firing, read back target, current NEST position, bearing, range, shell, charge count, and elevation. This takes less time than reloading after a preventable miss and catches the most common beginner errors.
- Correct target?
- Current NEST position?
- Correct bearing and range?
- Correct shell?
- Loaded charges match calculator?
- Gun elevation matches the same solution?
6. Diagnose a miss one variable at a time
If the shell misses, do not rebuild everything blindly. Check whether the error is directional or short/long, then verify the relevant input. Directional errors usually point to bearing, origin, or target plotting; range errors usually point to distance, charges, elevation, or a mismatched firing card. Apply confirmed spotter feedback and change one variable at a time.
Operator field note
How the stations depend on each other
The operator loop is a dependency chain, not a checklist of unrelated chores. Teleprinter language determines what goes onto the tactical map. The final map line produces the only bearing and range that belong at the gun. The calculator then combines that range with the powder count you intend to load. A failure early in the chain can survive every later check because the machinery only knows whether a value was entered—not whether the target or origin was correct.
This is why experienced operators preserve evidence. Keep the original observer lines long enough to audit a miss, keep one firing card per target, and cross out a stale solution instead of overwriting it. If the shell lands left or right, return to the map and traverse. If it lands short or long, inspect range, selected charges, loaded charges, and elevation. If it lands correctly but the objective remains incomplete, confirm the target identity and required shell before changing ballistics.
Speed comes from repetition after accuracy, not from skipping stations. Rehearse the same route and read-back order until the process becomes automatic: target, origin, bearing, range, shell, charges, elevation, barrel. Once those dependencies are reliable, the operator can work faster without losing the ability to explain a result.
A practical first-session drill is to complete the workflow without optimizing it. Pause after every transfer and point back to the source: the report that created the target, the line that created the range, the calculator setting that created the elevation, and the loader that created the physical trajectory. If you cannot identify the source of a number, it is not ready to fire. This deliberate pace builds an audit trail that later turns into speed.
For a two-barrel engagement, duplicate the process rather than sharing an unlabeled note. Give each barrel a target name, shell, bearing, range, charge count, and elevation. Read the left card against the left gun, then the right card against the right gun. The extra labels take seconds and prevent an entire class of cross-target errors that otherwise look like bad ballistics.
Sources & verification
Mechanics can change after patches. Official references and clearly labeled community findings used for this guide:
Official Steam page ↗Steam community discussions ↗Quick clarifications
Frequently asked questions
What should a new player learn first?
Learn the information path before trying to memorize every lever. Read one complete order, place the current NEST and target, create a final measurement, transfer the range to the calculator, and follow one shell through loading and firing.
Why does a correct calculator result still miss?
The calculator can only solve the range and charge count entered. A stale NEST position, wrong target marker, copied spotter range, different physical charge count, or elevation transferred to the wrong barrel can all produce a miss despite a mathematically valid output.
Should I change several values after a miss?
No. Classify the miss first and change the smallest relevant set of inputs. Multiple simultaneous corrections destroy the evidence that would tell you what actually failed.
Do old firing cards survive relocation?
No. Target evidence may remain useful, but every NEST-to-target bearing and range must be rebuilt from the new origin. Recalculate the charge-and-elevation pair after measuring the new range.