
Counter-Battery Mission
Counter-battery is a race against the enemy firing solution, but the timer does not reward panic. Win by preparing map work before the threat is active, keeping the NEST position current, and separating target solutions so both guns can be used without mixing values.
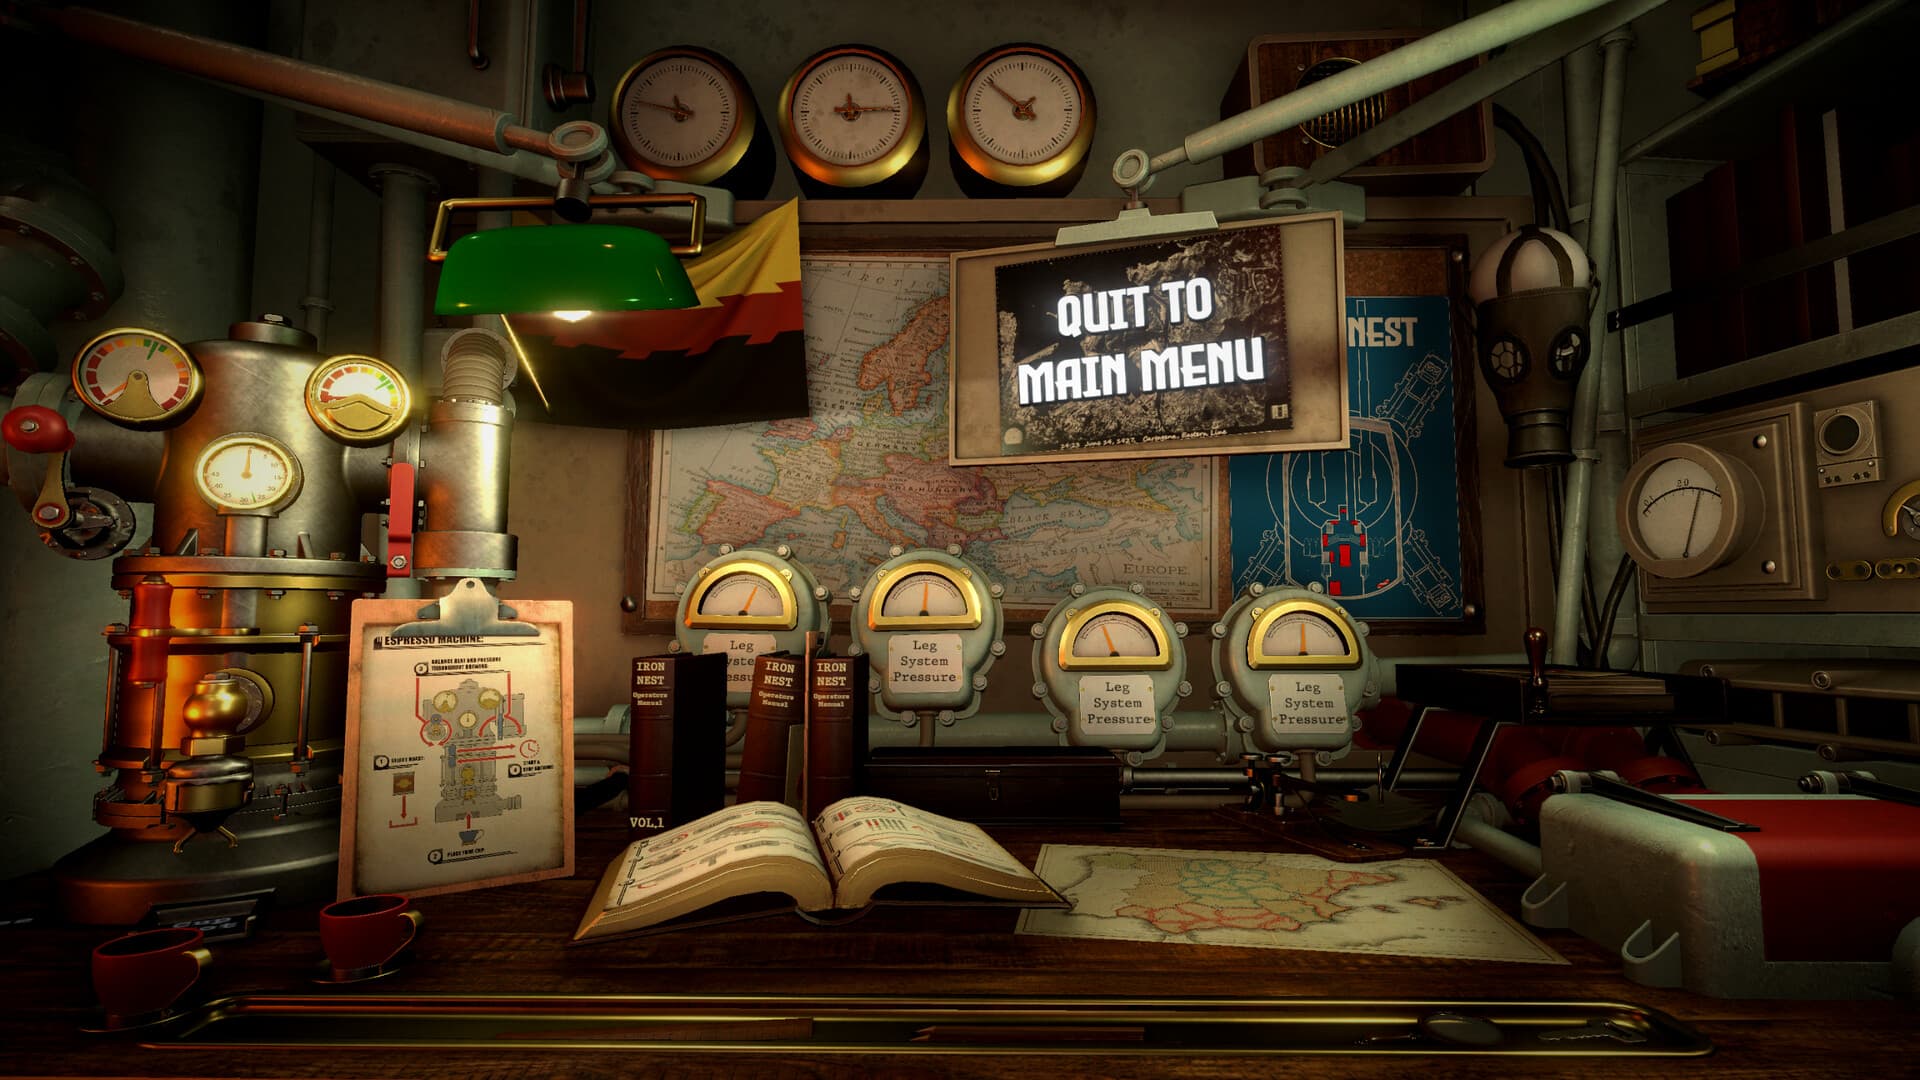
1. Prepare before the clock owns the mission
Read every message and mark all confirmed artillery, observer, and reference positions. For visible or already identified batteries, measure solutions early and keep one firing card per target. Community players consistently report that the opening phase is where the later time advantage is created.
- Mark confirmed hostile guns and possible search areas.
- Assign a target to each barrel where practical.
- Record bearing, range, shell, charges, and elevation separately.
- Load both guns before starting a sequence of timed engagements.
2. Do not confuse a clue with the battery
A report may describe incoming fire, a spotter, a landmark, or an area that contains the guns. Use two compatible bearings for triangulation, or use the available illumination and reconnaissance tools to reveal the actual battery. Destroying unrelated targets does not necessarily stop the counter-battery threat.
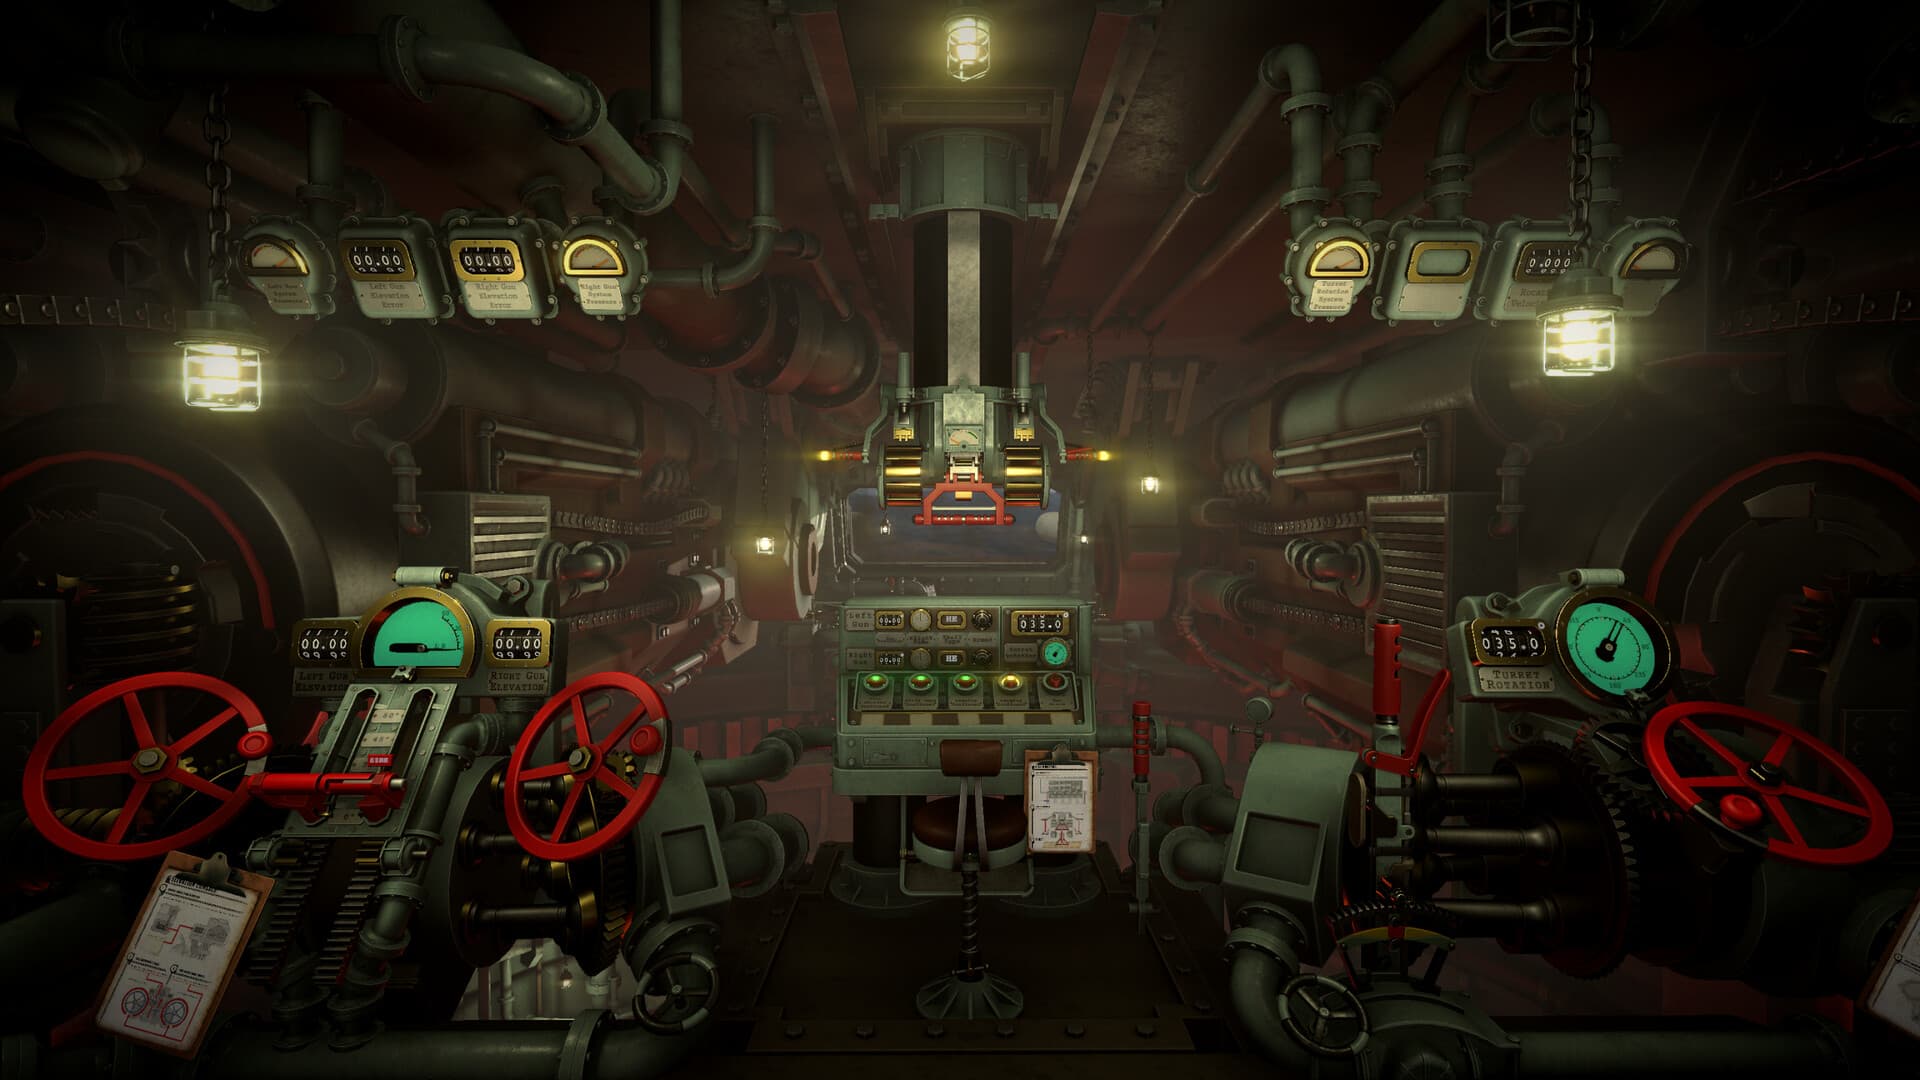
3. Update the NEST marker after every move
Relocating the NEST buys time, but the tactical-map marker does not automatically become a valid origin for your old solutions. Players commonly lose the mission because they continue measuring from the former position. Obtain or confirm the new position, move the marker, then rebuild bearing and range for every surviving target.
- Complete or record the relocation.
- Confirm the new grid position using the mission's position information.
- Move the NEST marker on the map.
- Discard old bearings and ranges.
- Recalculate charge and elevation pairs from the new range.
4. Fire both barrels as a planned pair
The two guns reduce dead time only when their values stay separate. Load both, set each elevation for its assigned target, rotate to the first bearing, fire, then traverse to the second prepared bearing. Avoid using one target's charge count or elevation on the other barrel.
5. Balance high charges against resupply
More powder can lower elevation and shorten flight time, which is useful under pressure. In challenge variants, however, maximum-charge shooting consumes limited requisition resources quickly. Use faster solutions for the shots where time matters most and lower-cost solutions when the timer and gun-laying angle allow them.
If the timer continues after your shot
First confirm impact actually destroyed the artillery target rather than a nearby unit. Then check for an additional or newly activated battery, review later reports, and search unrevealed areas using the available recon method. Community reports show that a final battery or newly active gun can keep the threat running even when the initially visible map looks clear.
Fast failure diagnosis
If a prepared shot misses, classify the failure before reloading: wrong direction means recheck target identity, NEST origin, and bearing; short or long means recheck range, charge count, and elevation; no objective progress means recheck shell type and whether the destroyed object was the required battery.
Operator field note
Time is won before the timer becomes urgent
Counter-battery missions reward preparation more than frantic movement. Mark every confirmed hostile gun, observer, and search area while information is arriving. Build separate target cards and assign barrels before the threat becomes immediate, so the firing sequence does not depend on remembering which range or shell belongs to which objective.
Hidden artillery should be treated as an intelligence problem. A bearing, incoming-fire report, or named area may narrow the search without confirming the battery. Use compatible reports, illumination, or reconnaissance until the actual target is supported. Firing at a clue can waste the shell and leave the threat active.
Relocation buys survival only when the operator closes the old position correctly. Move the NEST marker, cross out old final lines, redraw bearing and range to every surviving target, and recalculate each ballistic pair. A fast shot from stale geometry is still a miss.
Sources & verification
Mechanics can change after patches. Official references and clearly labeled community findings used for this guide:
Steam discussion: counter-battery mission design ↗Community: forgotten NEST marker after relocation ↗Community: locating the second battery ↗Full-release counter-battery tactics discussion ↗Quick clarifications
Frequently asked questions
What should be prepared before counter-battery fire begins?
Mark known threats, measure confirmed targets, assign one firing card per target and barrel, and verify required ammunition and powder availability.
Why does the threat continue after destroying one gun?
The mission may contain another active or newly revealed battery, or the destroyed object may not have been the required artillery target. Review later reports and objective feedback.
Do I need to recalculate after relocating?
Yes. Update the NEST origin and rebuild every remaining bearing, range, charge selection, and matching elevation.