
Phantom Battery Mission
Phantom Battery is a search-and-survival mission. You need enough intelligence to reveal the hostile NEST while preventing its observers from completing a firing solution on yours.
1. Treat requisition as survival time
Emergency moves, observers, reconnaissance, and specialist ammunition compete for the same limited resources. Do not repeatedly relocate without improving your information. Plan each purchase to either delay enemy fire, reveal the hostile NEST, or remove an observer that is actively helping it find you.
2. Move before the search closes
Full-release players report success by relocating near the start and building a time buffer before the hostile network completes its fix. After any move, update the NEST marker and discard firing lines measured from the old position.
3. Break the enemy observer chain
Mark exposed hostile spotters separately from the Phantom Battery. Destroying observers can reduce the information available to the enemy, but a spotter is not the final objective. Community players report using broad-effect destructive ammunition on confirmed observer positions rather than wasting precise shots on guesses.
4. Build your own search chain
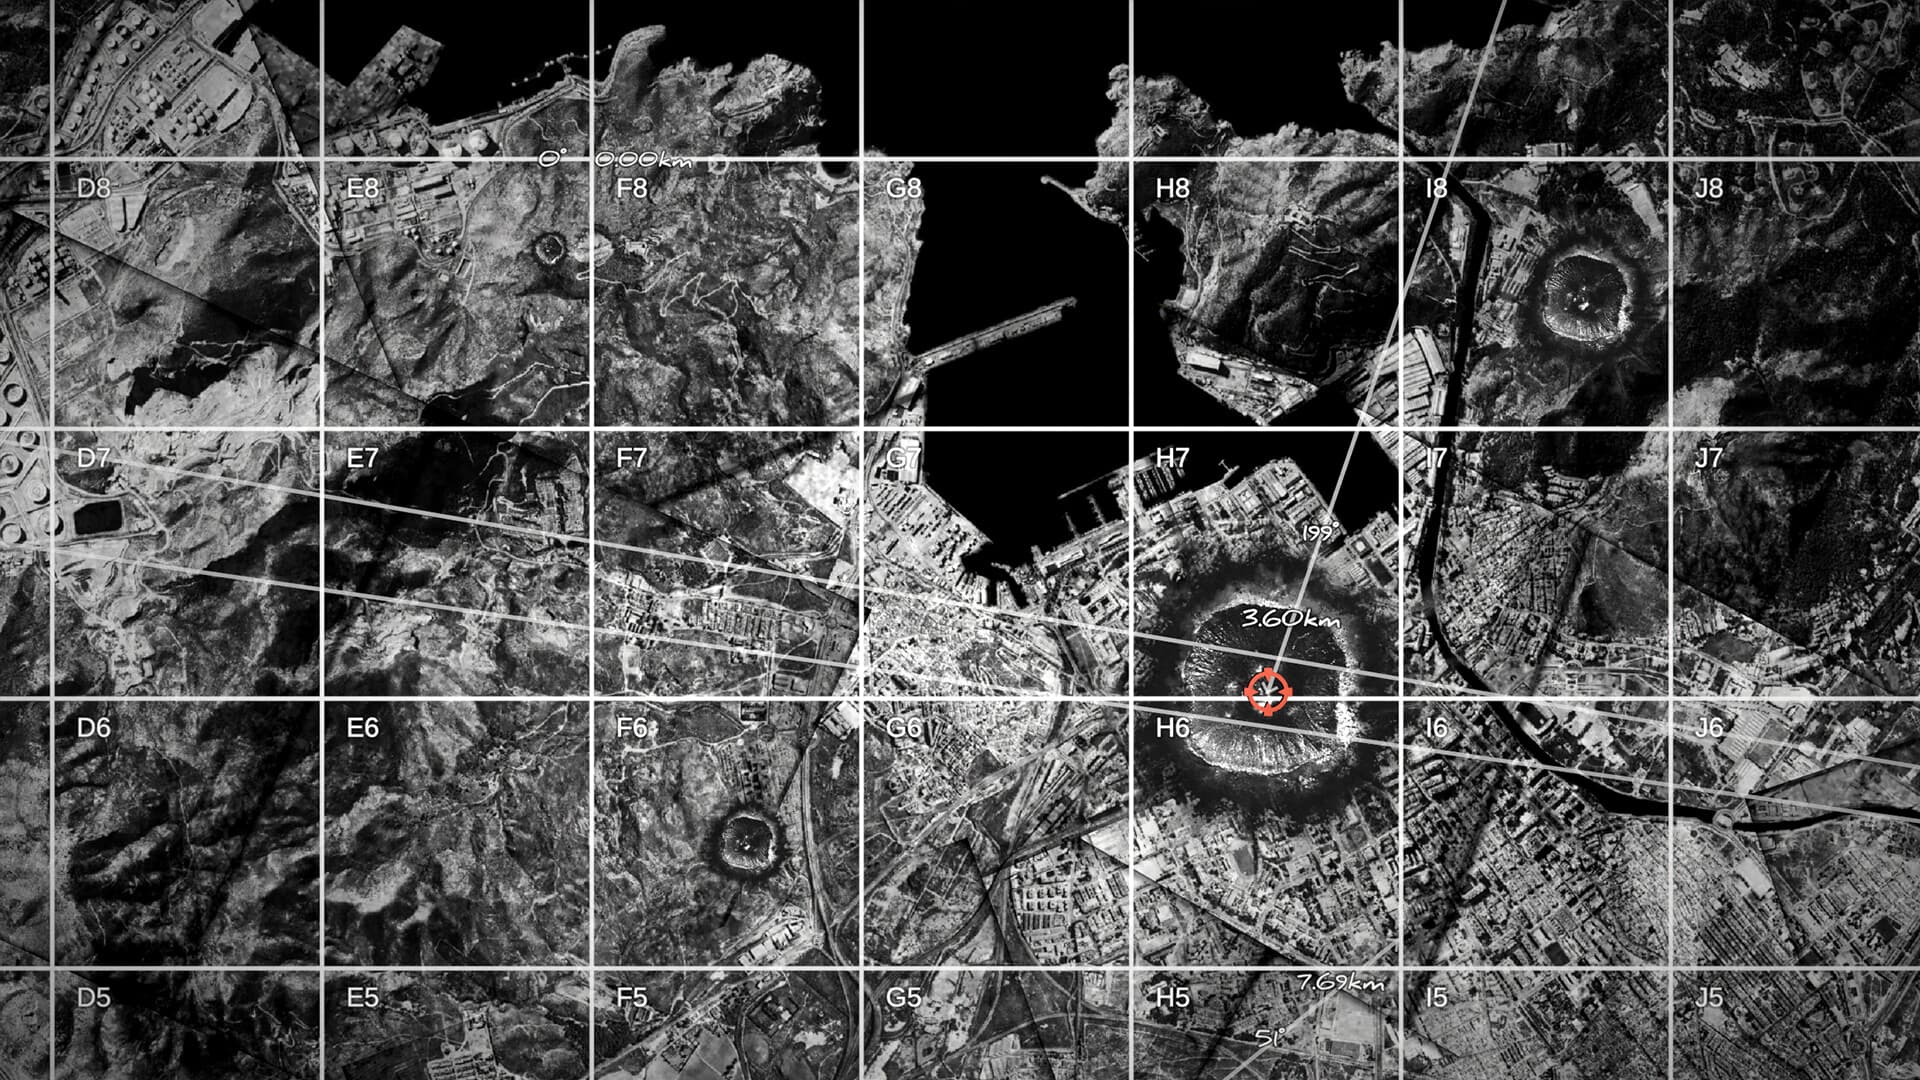
Request forward observers in useful central areas and combine their reports with reconnaissance coverage. One bearing narrows the target to a line; a second compatible bearing, a distance clue, or a recon contact turns it into a firing point.
- Mark every confirmed friendly observer.
- Keep each report tied to its numbered origin.
- Use aircraft or reconnaissance coverage along the most likely line.
- Mark the hostile NEST only when reports or recon support the position.
5. Time movement around impact
A current community finding says the enemy can learn from where your shells land, not only when they leave the barrel. Relocating immediately after firing may expose the new position when those rounds impact. Treat this as version-sensitive: where practical, let the salvo land, confirm damage, then relocate and recalculate.
6. Engage the Phantom Battery
Once the hostile NEST position is confirmed, prepare both barrels with separate checked firing cards. Community reports describe multiple armor-piercing hits rather than assuming one impact is enough. Watch objective feedback and continue only with verified corrections; exact durability can vary by balance update.
Failure diagnosis
If you run out of resources, reduce unproductive emergency moves and blind reconnaissance. If no target appears, widen the observer/recon chain instead of firing randomly. If a confirmed salvo does not finish the objective, verify shell role, impact location, and whether additional hits are required in the current build.
Sources & verification
Mechanics can change after patches. Official references and clearly labeled community findings used for this guide:
Community Phantom Battery tactics and impact-timing discussion ↗Community Phantom Battery scouting discussion ↗