
Spotter Position
A spotter report is a clue about an unknown target, not a firing solution. Keep the spotter, target, and NEST as three separate roles until the map work is complete.
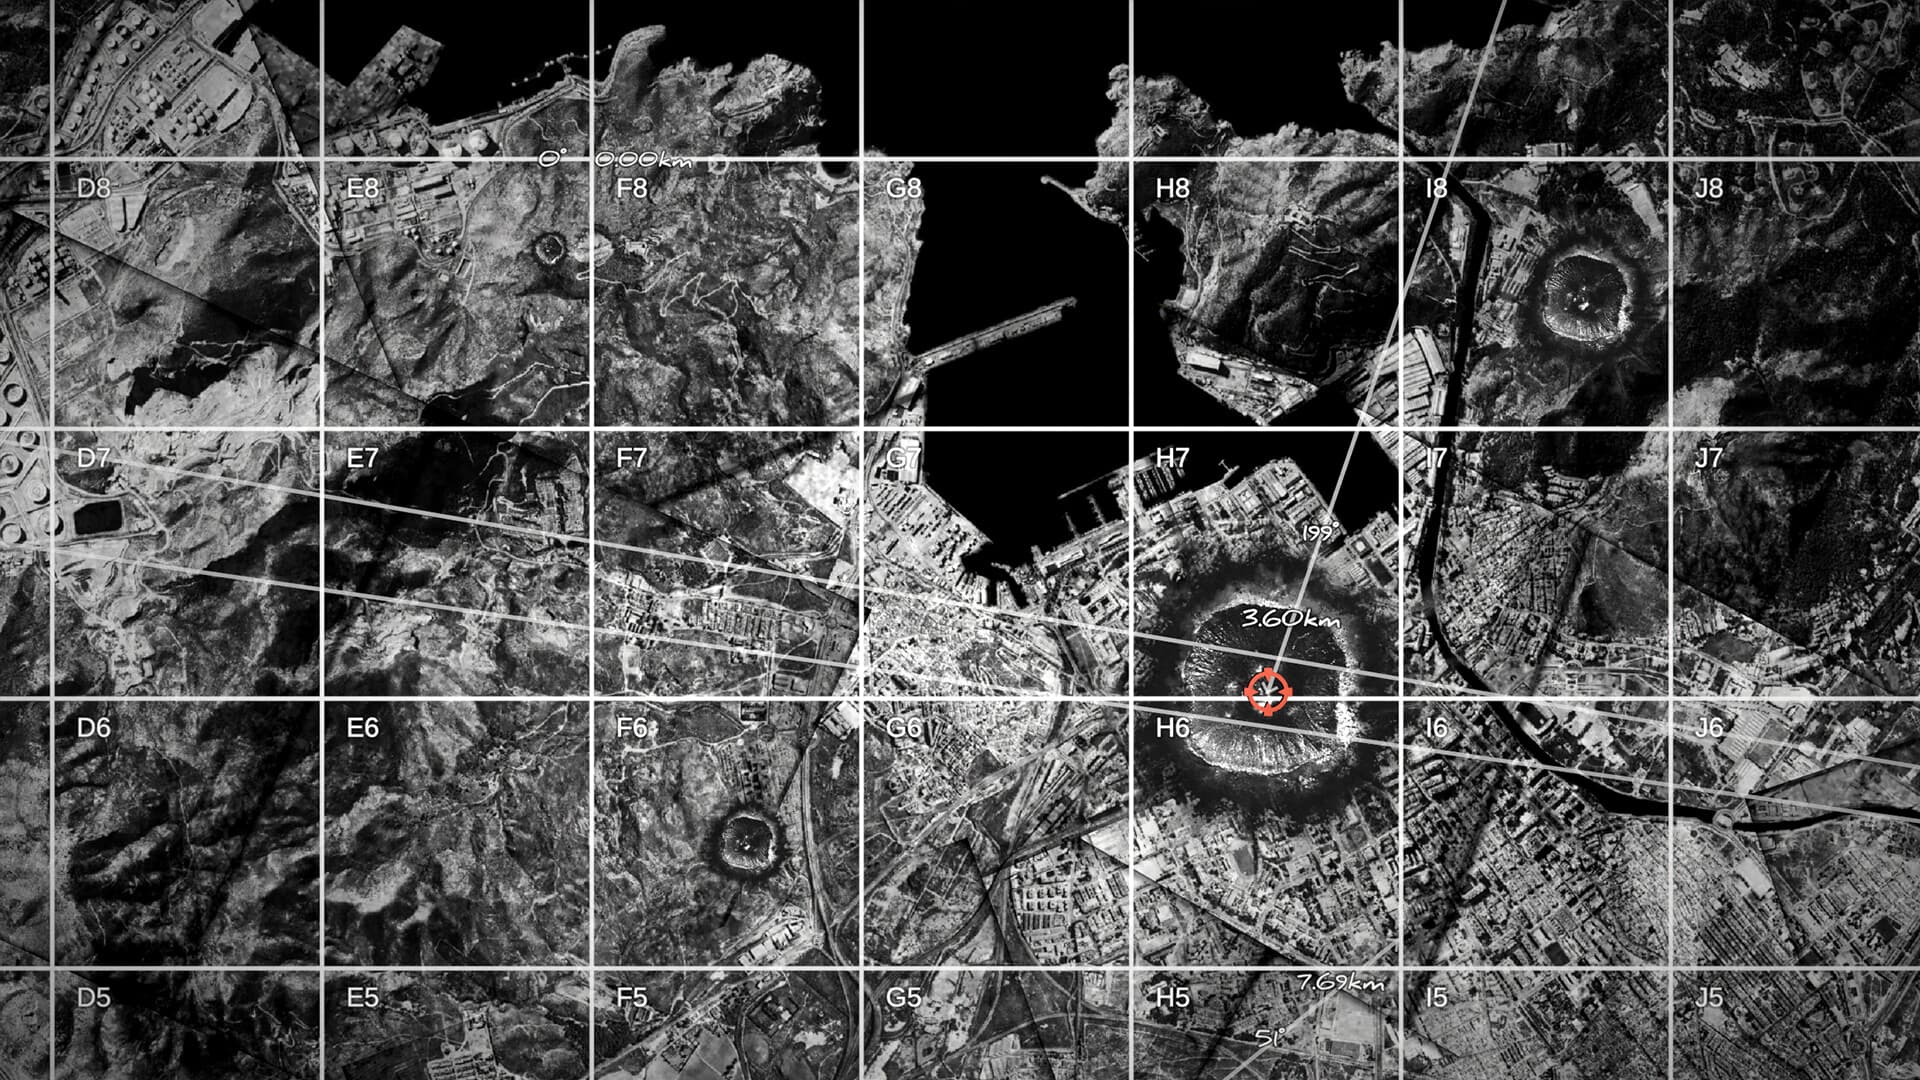
Separate the three positions
Before drawing, label the reporting spotter, the unknown subject of the report, and the NEST. A bearing reported by Spotter #1 begins at Spotter #1; it does not begin at the NEST. Only the final firing measurement begins at the NEST.
Place the correct numbered spotter
Copy each spotter coordinate from the field report and use the matching numbered marker. Preserving the number prevents a correct bearing from being drawn from the wrong origin when several reports arrive together.
- Read the full coordinate and sub-cell.
- Place the matching blue spotter marker.
- Label the clue with the same spotter number.
- Keep later corrections instead of erasing the only known origin.
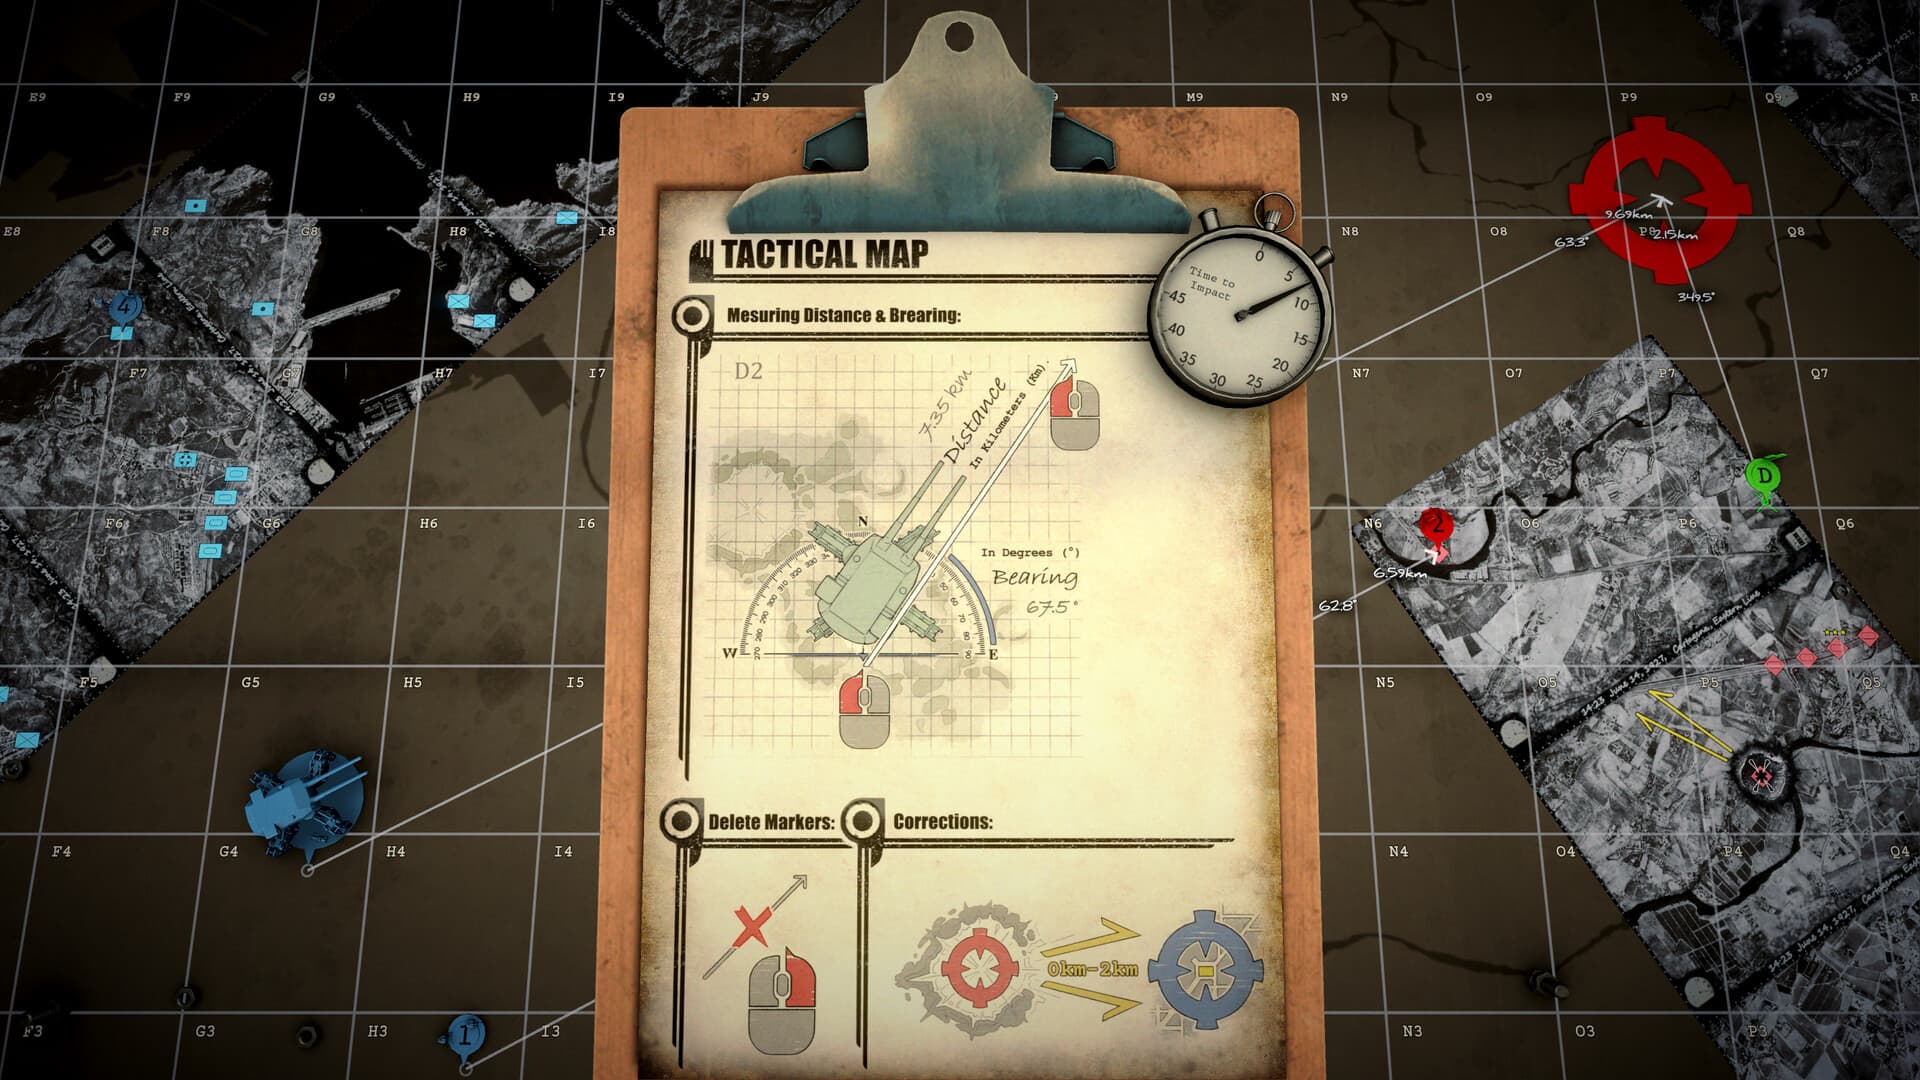
Plot a bearing clue
Select a pencil, begin at the exact spotter position, and extend the line until the displayed bearing matches the report. Draw it far enough to cross a second clue. Repeat from the second reported origin; the crossing is the estimated target position.
Plot a distance clue
A distance alone describes a circle around the spotter. Use the drawing compass with the reported spotter as its center and the stated distance as its radius. A second circle, a bearing line, or mission geography selects the useful intersection.
Create the firing measurement
Once the target is marked, ignore the clue-line distances for gun settings. Draw a fresh line from the current NEST marker to the target and copy that line's bearing and range to the firing card. If the NEST moves, discard the old firing measurement and repeat this step.
Fix an impossible intersection
If the lines never meet in a plausible area, verify the spotter numbers, sub-cells, bearing direction, and whether two reports actually describe the same target. If two distance circles create two intersections, use an additional report or terrain clue rather than guessing.
Sources & verification
Mechanics can change after patches. Official references and clearly labeled community findings used for this guide:
Steam discussion: triangulation with numbered spotters ↗Map and measurement walkthrough with screenshots ↗