
Map Measurement
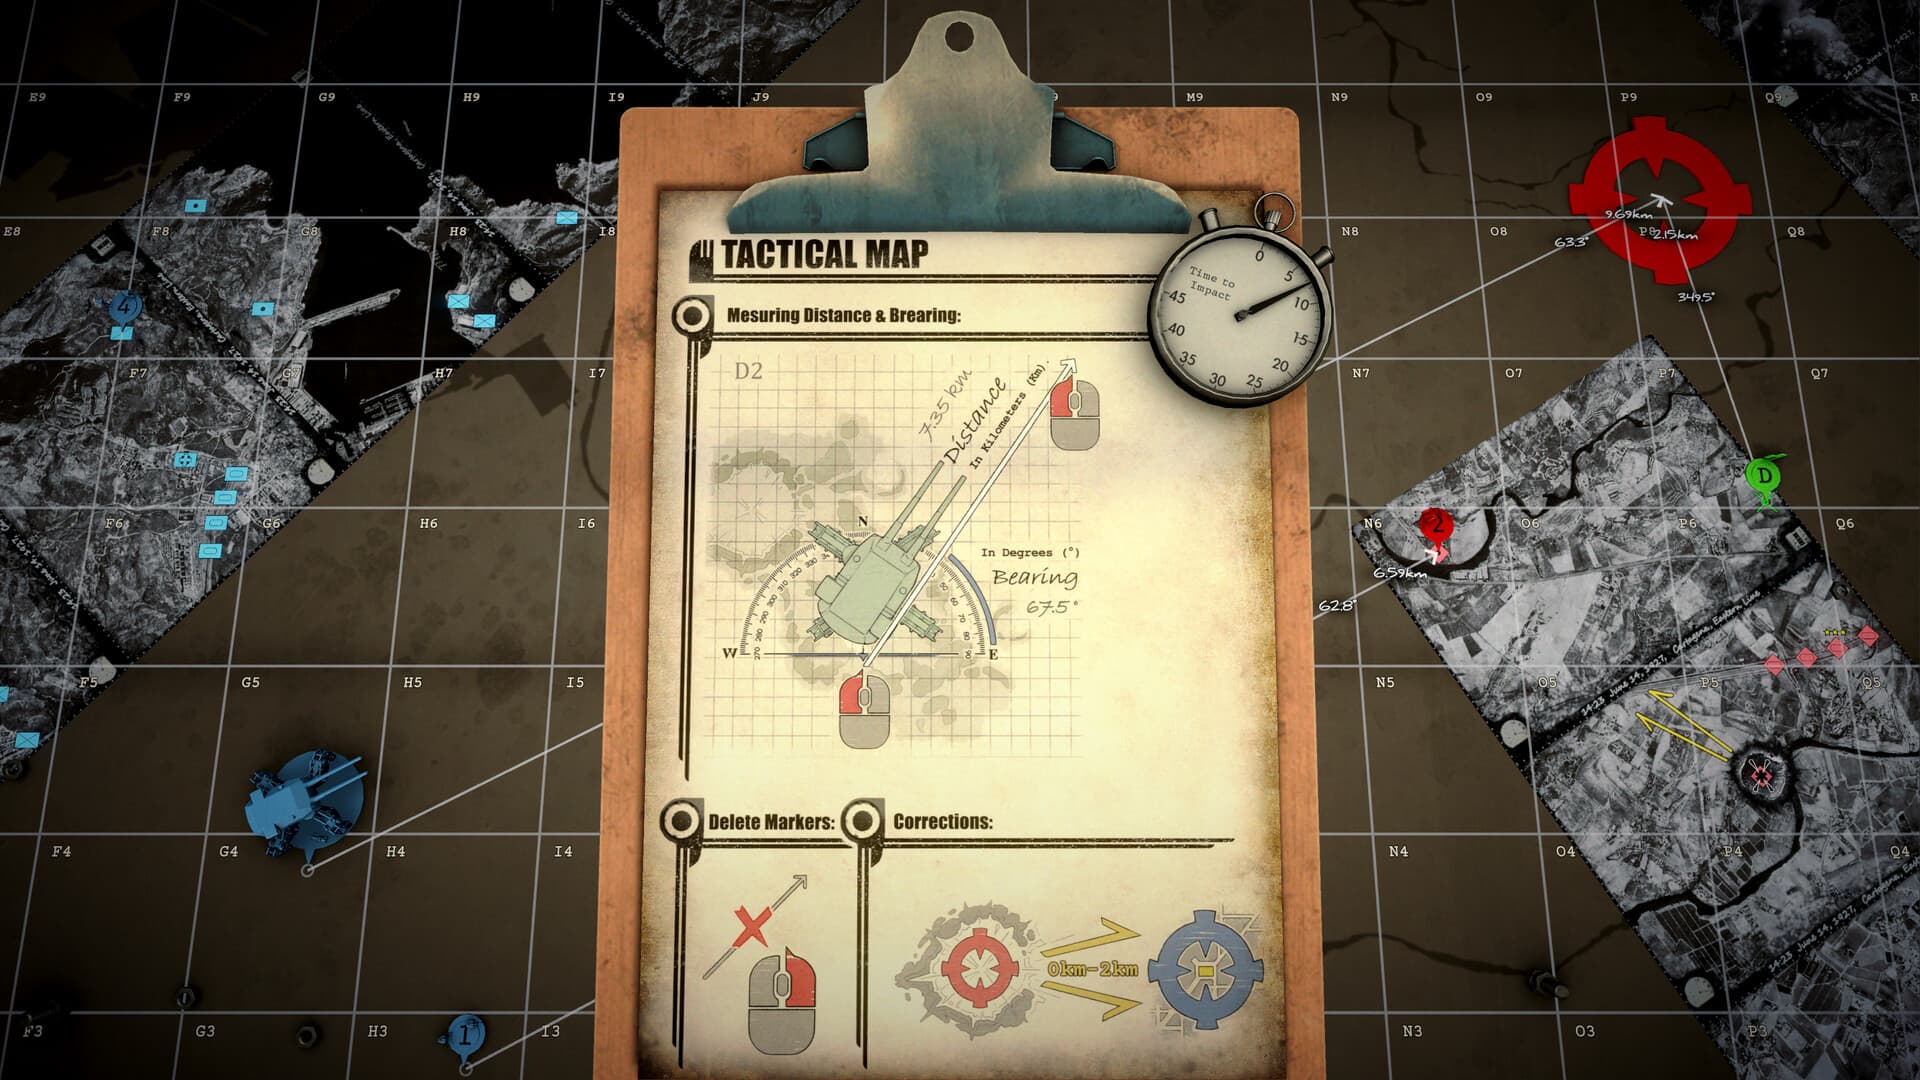
The tactical map converts intelligence into firing data. It becomes reliable when every clue keeps its own origin and the final measurement always starts from the current NEST position.
Field reference
Map clue decoder
| Report gives | Draw from | Map tool |
|---|---|---|
| Bearing | Named origin | Pencil line |
| Distance | Named origin | Compass arc |
| Coordinate | Full grid + sub-cell | Position token |
| Final firing data | Current NEST | Line to target |
Read the full coordinate
The map uses lettered columns, numbered rows, and a smaller sub-grid inside each cell. Do not stop at the large grid square when the report supplies a sub-cell; that small plotting error expands into a miss at artillery range.
Place origins before drawing clues
Mark the current NEST, each numbered spotter, and fixed reference points first. Match marker numbers to reports and preserve the source of every measurement so the map does not become a collection of anonymous lines.
Use the correct tool for each clue
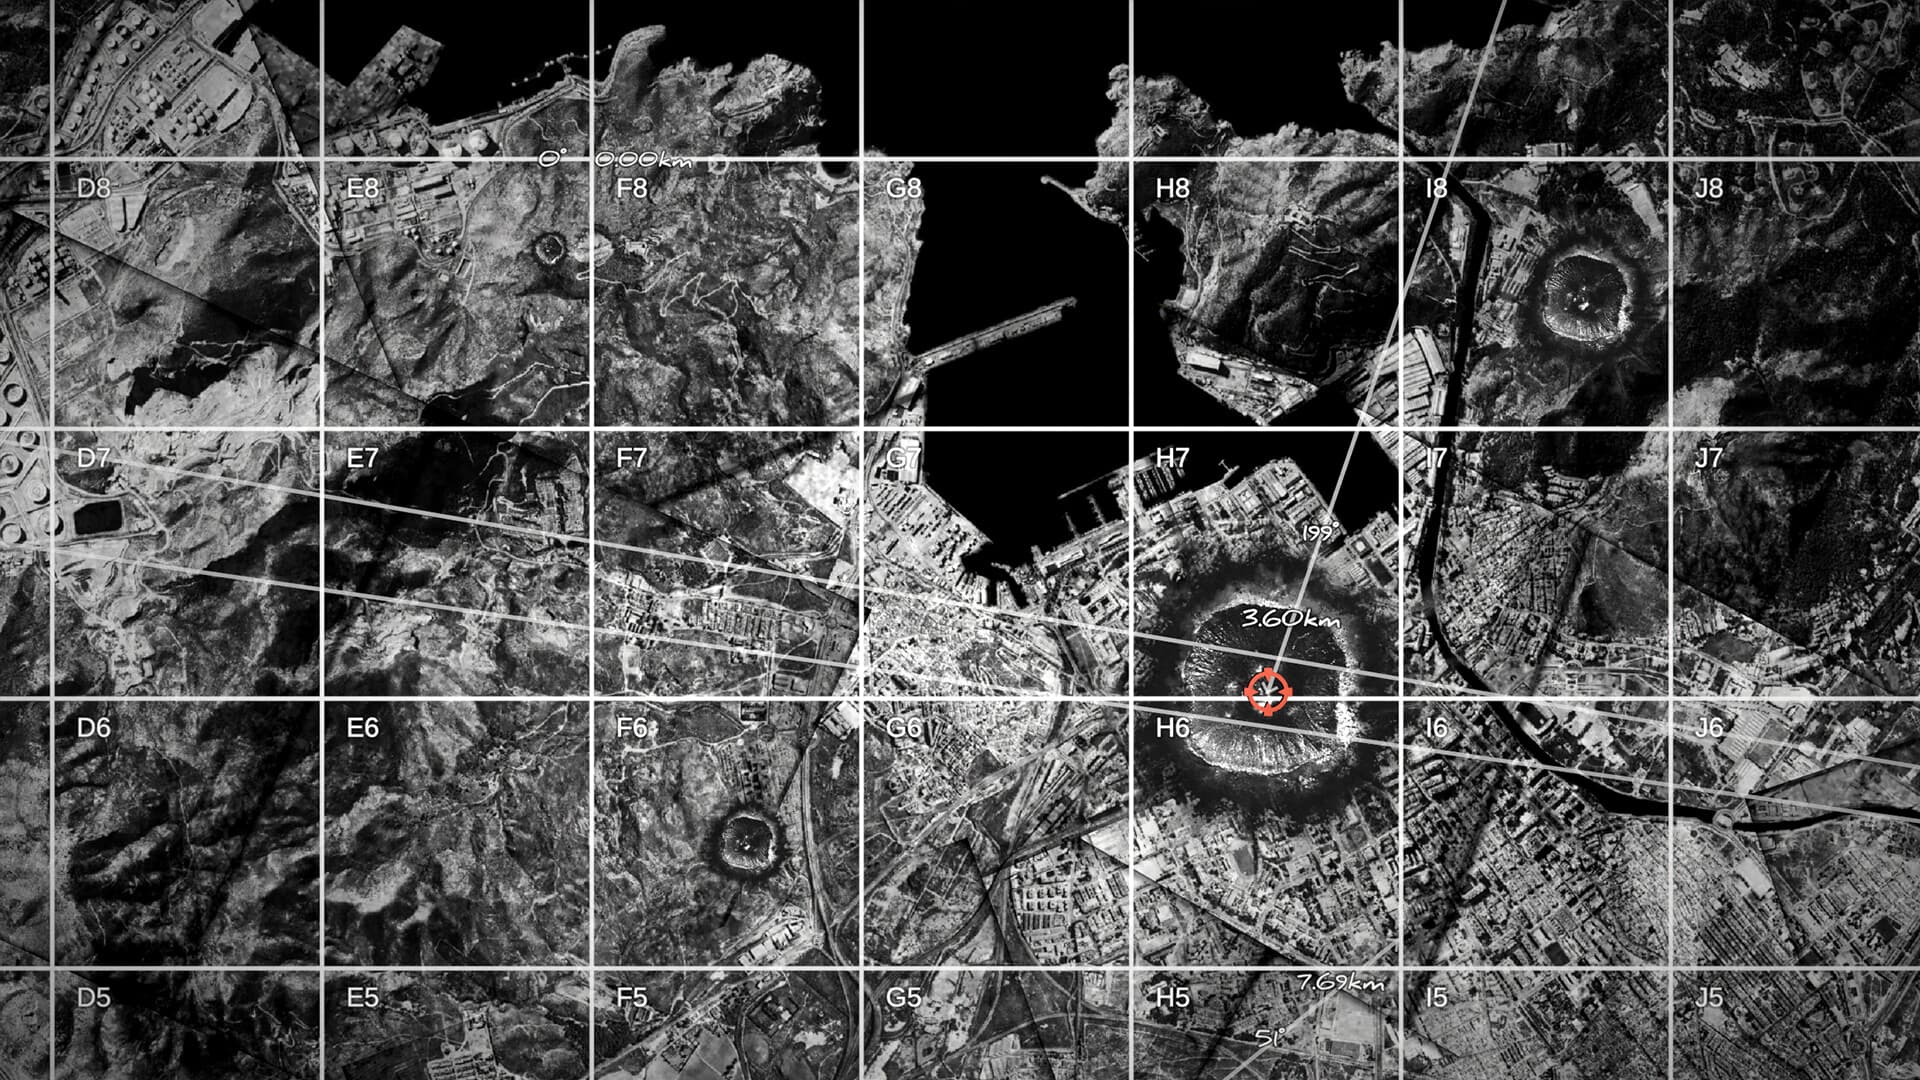
A bearing is a direction from a known origin, so draw a pencil line from that origin at the displayed angle. A distance describes every point at the same radius, so use the drawing compass to create an arc or circle. Intersect two bearings, two distances, or one of each to estimate the unknown target.
Measure the actual shot
After marking the target, draw a new direct line from the current NEST sub-cell to the target sub-cell. Copy its displayed bearing and range to the firing card. Delete or clearly separate earlier clue values so they cannot be mistaken for gun data.
Keep the map readable
Use different pencil colors for different reports, label target numbers, and remove obsolete firing lines only after preserving required origins. When the NEST relocates, update its marker and rebuild every surviving target's final line.
Diagnose map errors before ballistics
A shell landing at roughly the correct distance but to one side suggests a bearing or endpoint problem. A wildly wrong range suggests the wrong origin, wrong target, or imprecise coordinate. Verify the map before changing charges or elevation.
Operator field note
Design the map so another operator could audit it
A useful tactical map explains where every mark came from. Number friendly spotters, use a consistent style for confirmed coordinates, and keep estimated intersections visually distinct. When two reports conflict, the source labels should make it possible to remove or correct one clue without rebuilding the entire operation from memory.
Map cleanup should be conservative. Remove obsolete final firing lines after relocation, but preserve observer origins that later messages may reuse. Mark destroyed targets as complete instead of deleting the only evidence that explains a follow-up order. The goal is not an empty map; it is a readable operational record.
When an impact is wrong, audit the map before touching ballistics if the error is directional or wildly displaced. Confirm the full coordinate and sub-cell, current NEST marker, target identity, and direction of the final line. Only after the geometry is trusted should range move downstream again.
Sources & verification
Mechanics can change after patches. Official references and clearly labeled community findings used for this guide:
Map and measurement walkthrough with screenshots ↗Steam discussion: bearings, circles, and intersections ↗Quick clarifications
Frequently asked questions
Why do sub-cells matter?
A small placement error at the map becomes a large miss at artillery range. Use the complete coordinate and sub-grid whenever the report provides it.
When should I delete old lines?
Delete or clearly invalidate final firing lines after relocation, but preserve labeled observer origins and unresolved intelligence that later reports may reference.
Which map line goes to the calculator?
Only the final straight line from the current NEST position to the confirmed target. Observer lines and distance arcs are location clues, not gun range.