
Royal Grounds: Starburst Shell
This objective tests instruction discipline: the correct location is not enough if the order requires a specific shell or if a deleted spotter origin makes later reports unusable.
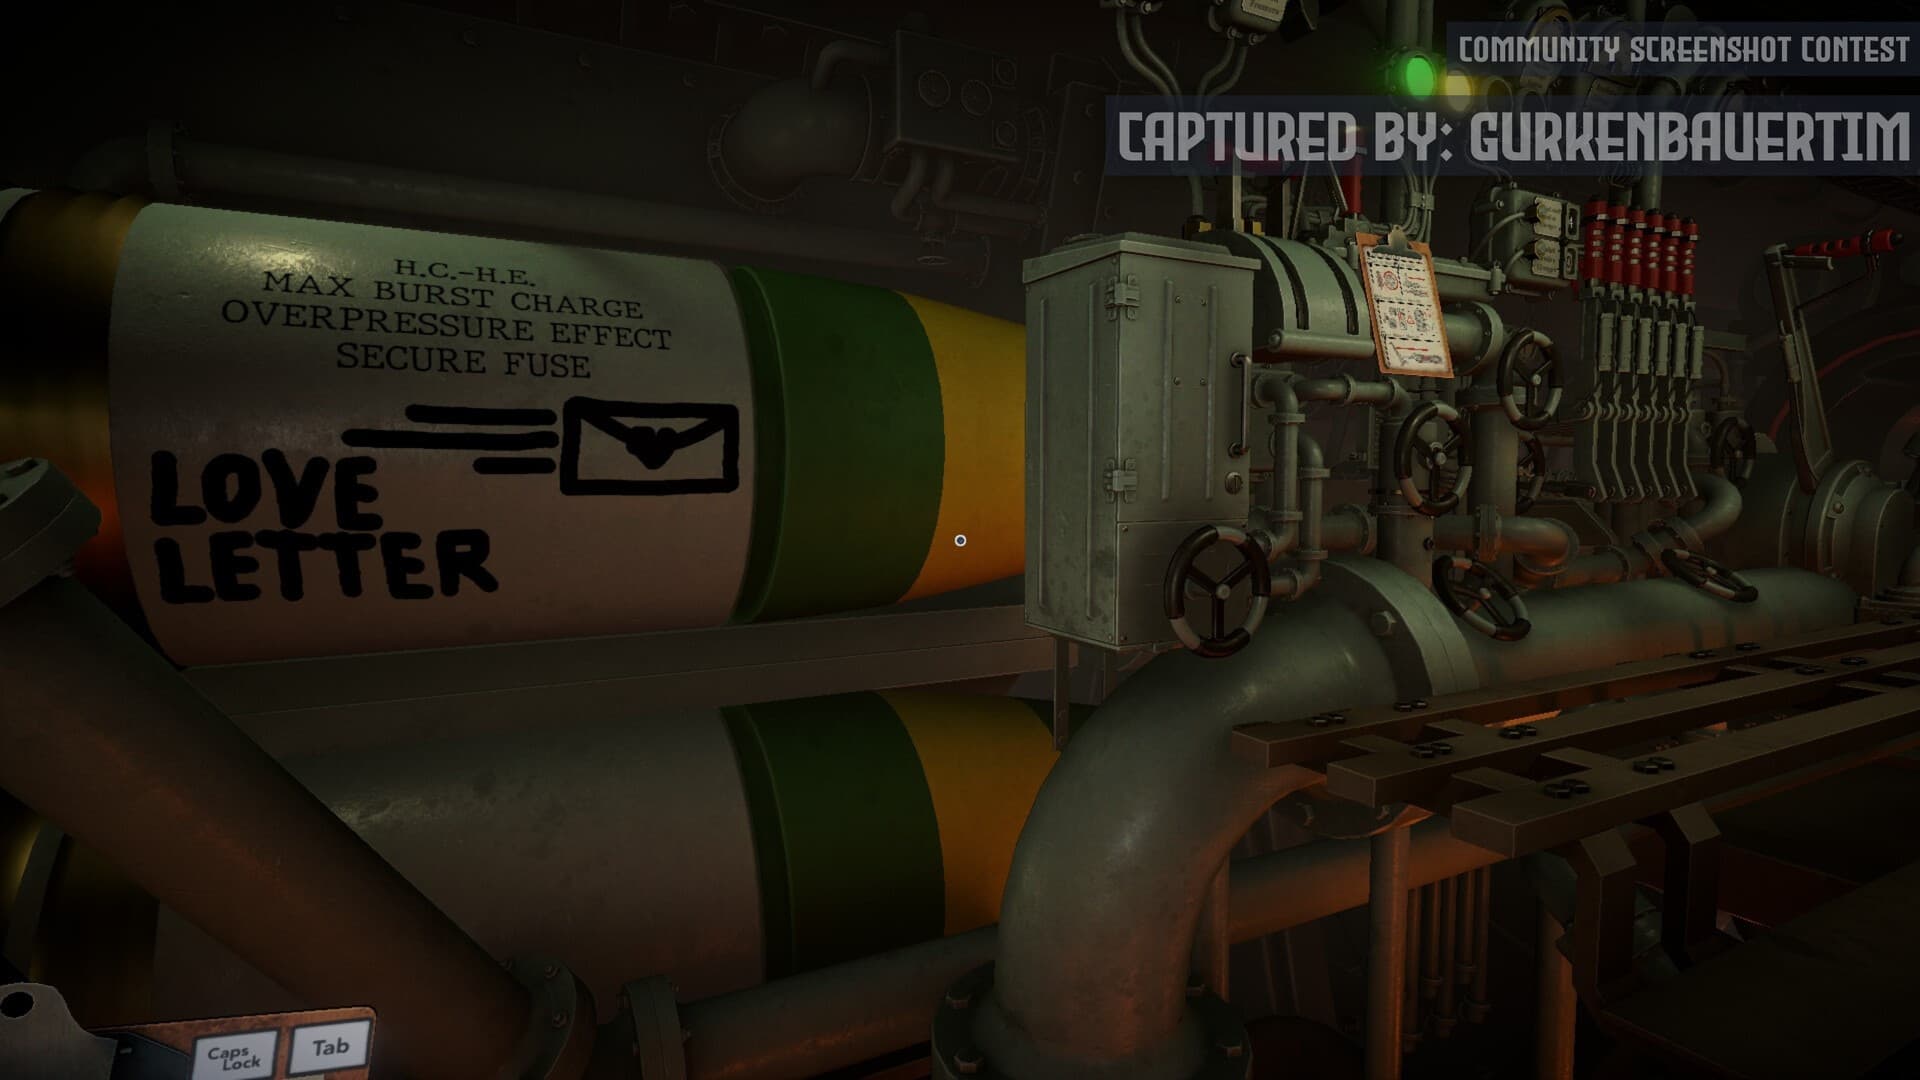
1. Preserve the spotter origins
Do not erase numbered spotter positions after the previous engagement. Follow-up reports can describe a new target relative to a spotter already placed on the map. Without that origin, a correct bearing or distance cannot be reconstructed reliably.
2. Parse the objective before loading
Record the named area or target, every coordinate or observer clue, the required Starburst ammunition, and any follow-up condition. Treat the ammunition requirement as part of mission success, not as an optional recommendation.
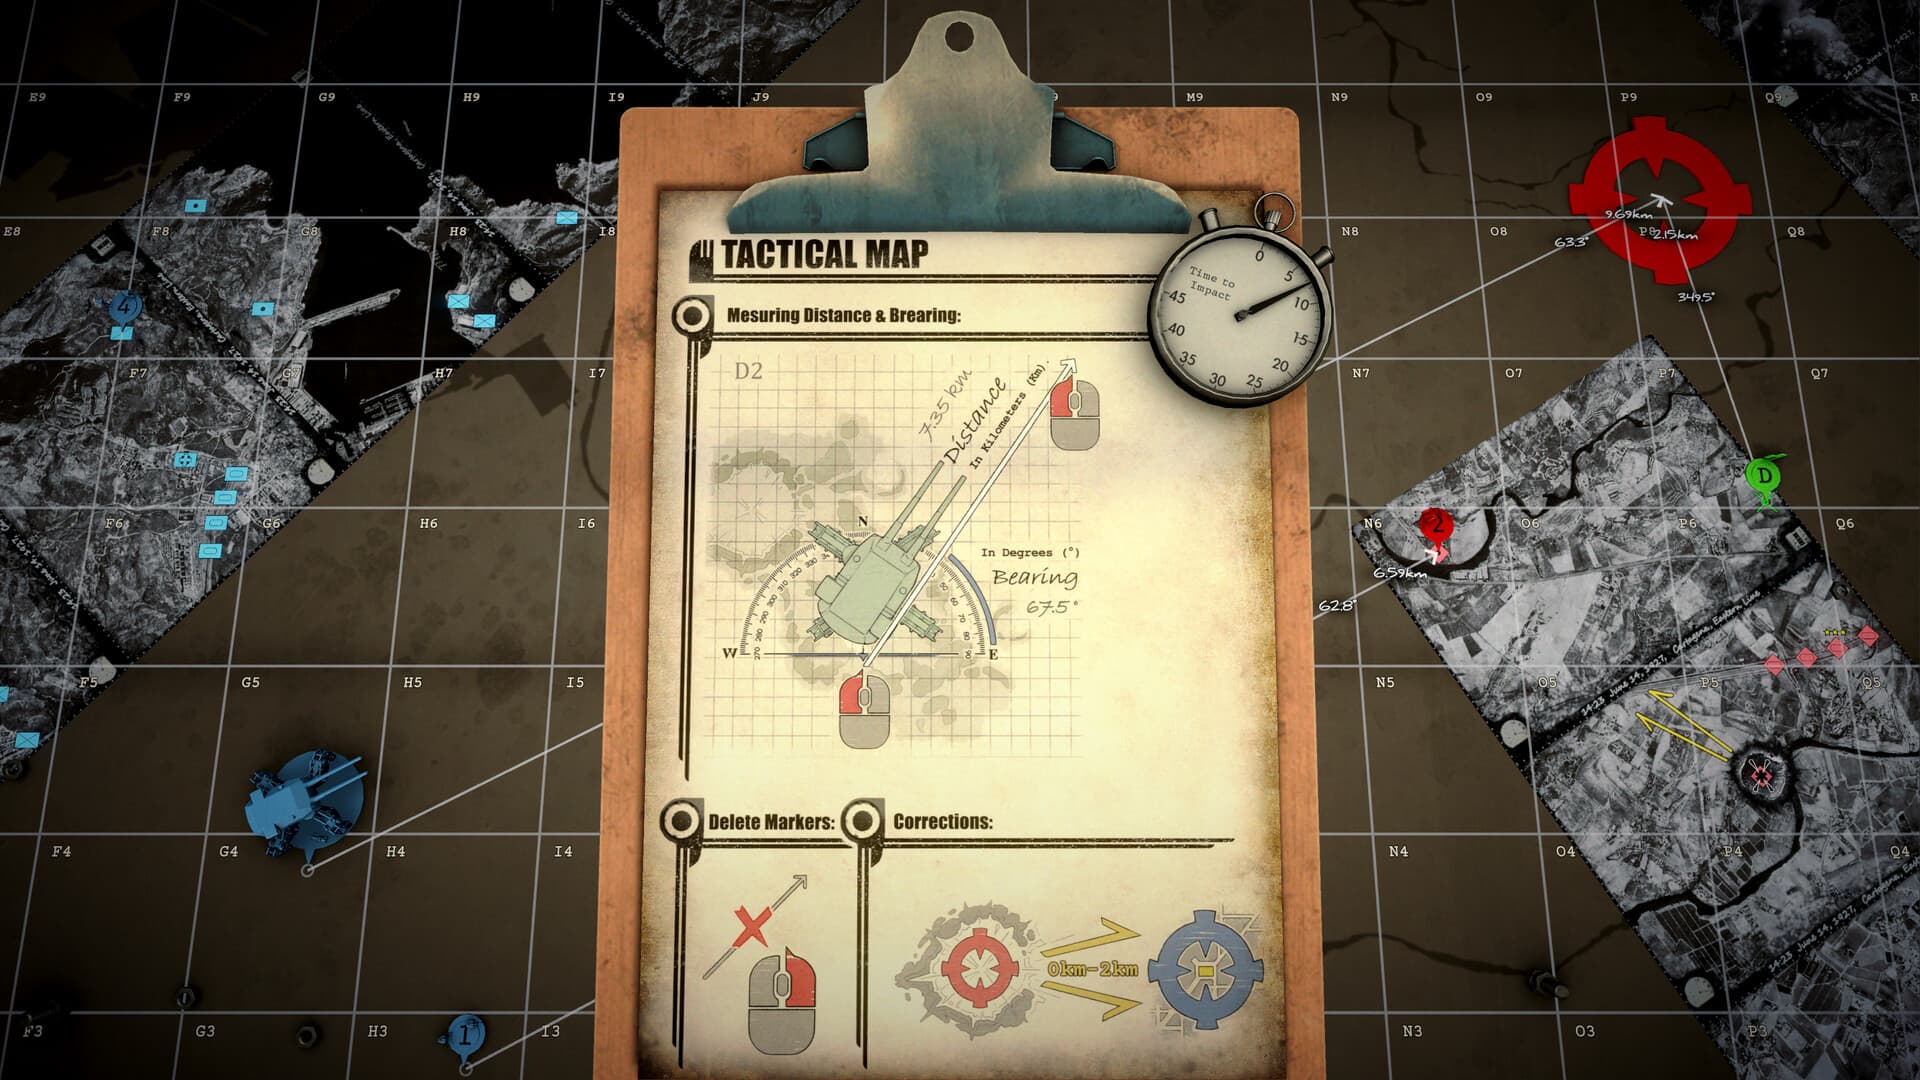
3. Locate the target
Use a direct coordinate when the order provides one. For observer reports, draw every bearing from its stated spotter and every distance as an arc from its stated origin. Mark the compatible intersection and check it against the Royal Grounds geography before spending the shell.
4. Build a fresh firing solution
Draw from the current NEST marker to the confirmed target, copy final bearing and range, enter the range and intended charge count at the calculator, and record the matching elevation. Never reuse another mission's firing values.
- Confirm current NEST marker.
- Confirm the target intersection.
- Measure final bearing and range.
- Select intended powder charges.
- Record matching elevation.
- Load Starburst Shell when required.
5. Verify before firing
Read back target, origin, bearing, range, Starburst Shell, loaded charges, and elevation. If using both barrels for different tasks, keep this objective on its own firing card so a destructive shell is not loaded by mistake.
If the objective does not advance
Check the impact point first, then confirm the ammunition name and target identity. If the mission issues a follow-up message, treat it as a new instruction rather than repeating the same solution. Avoid online fixed coordinates or elevations unless they match the current mission seed and build.
Sources & verification
Mechanics can change after patches. Official references and clearly labeled community findings used for this guide:
Official Steam gameplay and ammunition description ↗Steam discussion: preserving Spotter #1 information ↗